
How to Install a Fire Sprinkler System

Learn how to install a fire sprinkler system with our detailed, step-by-step guide. Ensure your building is safe and compliant with Laws. Installing a fire sprinkler system in your home or commercial building is an essential safety measure that helps prevent the rapid spread of fire, saving both lives and property. While the process might seem complex, this guide will walk you through each step to ensure you can install a fire sprinkler system efficiently and in compliance with local building codes.
Understanding Fire Sprinkler Systems
Before diving into the installation process, it’s essential to understand the different components of a fire sprinkler system. A typical system includes: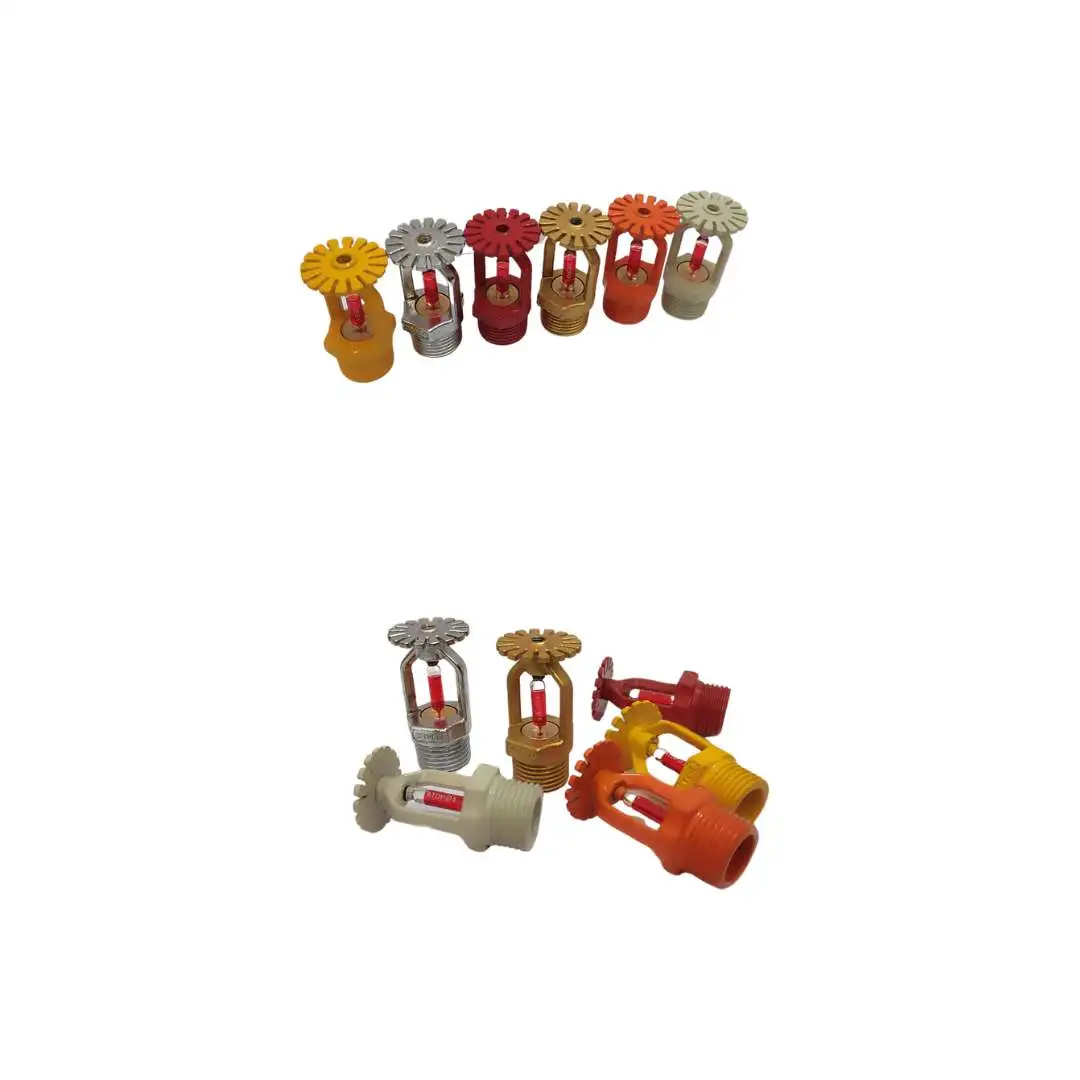
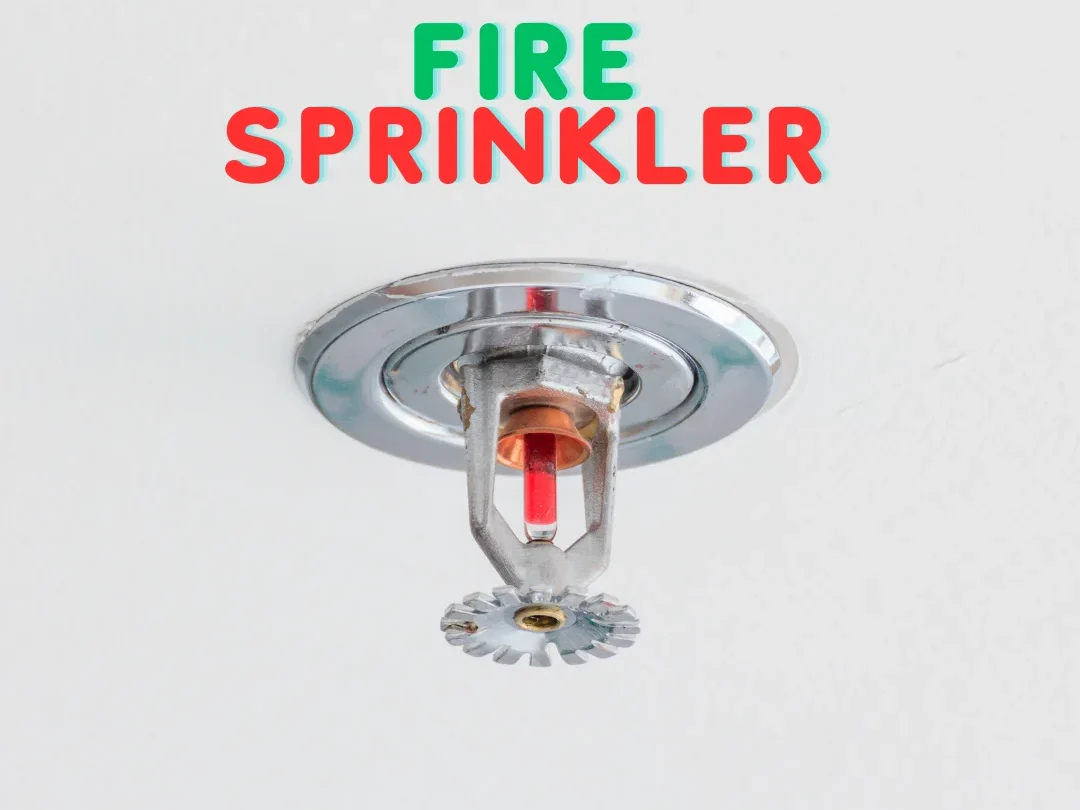
- Sprinkler heads: These are the outlets from which water is released. They are designed to activate when the surrounding temperature reaches a specific level.
- Piping: This network delivers water to the sprinkler heads. Depending on the system, the pipes could be filled with water or air (in the case of dry systems).
- Control valves: These control the flow of water through the pipes and to the sprinkler heads.
- Alarm system: Most fire sprinkler systems come with an integrated alarm system that notifies building occupants when the system is activated.
Step 1: Planning Your Fire Sprinkler System Installation
The first step in installing a fire sprinkler system is to create a detailed installation plan. This step involves determining the areas of the building where sprinklers will be placed and mapping out the pipe network.
- Identify key areas: Sprinklers should be installed in all rooms, hallways, and other significant spaces, such as basements and attics. Pay special attention to kitchens, storage areas, and rooms where electrical equipment is used, as these areas are prone to fire outbreaks.
- Measure spacing: The spacing of sprinkler heads is crucial for optimal coverage. A common standard is placing heads between 12 and 15 feet apart.
- Compliance with local building codes: Ensure your fire sprinkler system adheres to local building codes and regulations. This includes confirming the proper number of sprinklers per square footage and the correct types of pipes and fittings to use.
Step 2: Gathering Materials and Tools
To complete the installation, you’ll need to gather all the necessary materials and tools:
- Sprinkler heads: Choose heads that meet your building’s fire safety needs. Residential buildings typically use pendant sprinklers, while commercial buildings may require other types such as upright or sidewall sprinklers.
- Pipes: CPVC or steel pipes are commonly used in fire sprinkler systems. CPVC is preferred in residential settings because it is lightweight and easy to install.
- Control valves: Ensure you have valves for the main water line and individual system zones.
- Fittings and adapters: These will connect pipes to sprinkler heads and valves.
- Pipe cutter: Used to trim pipes to the correct lengths.
- Wrenches and pipe thread sealant: Essential for securing fittings and ensuring watertight seals.
Step 3: Installing the Main Water Line
The fire sprinkler system needs a reliable water source. For most buildings, this will be the main water line. You will need to connect your system to this line, ensuring there’s adequate water pressure to supply the entire network of sprinklers.
- Shut off the main water supply: Before starting work, turn off the water supply to avoid flooding.
- Install a backflow preventer: This crucial component prevents contaminated water from flowing back into the clean water supply.
- Attach the main control valve: This valve allows you to control the water flow into the sprinkler system and can be used to shut off the system in case of repairs or maintenance.
Step 4: Installing the Pipes
Once the water line is in place, you can begin installing the pipes that will carry water to the sprinkler heads.
- Start from the main water line: Run pipes from the control valve to each zone of your building, ensuring you follow your installation plan. It’s important to avoid any sharp bends that could restrict water flow.
- Drill holes: If installing pipes in ceilings or walls, you may need to drill holes to accommodate the piping. Be sure to measure and cut pipes accurately to fit.
- Secure the pipes: Use brackets or hangers to hold the pipes in place. Ensure that all pipes are level and firmly secured to avoid leaks.
Step 5: Installing the Sprinkler Heads
With the piping network complete, the next step is to install the sprinkler heads.
- Cut the pipe and attach fittings: Each sprinkler head is attached to the piping using specific fittings. Make sure to cut the pipe at the right length for each head location.
- Install the sprinkler head: Screw each sprinkler head into place, ensuring it is flush with the ceiling or wall surface. Be careful not to over-tighten, as this could damage the head.
- Check alignment: Ensure that all heads are properly aligned to provide optimal coverage.
Step 6: Installing the Alarm System
Most fire sprinkler systems come with an integrated alarm system that sounds when a sprinkler is activated. Here’s how to install it:
- Choose an appropriate location: Place the alarm system control panel near the main control valve.
- Connect the alarm to the sprinkler system: The alarm is triggered by water flow, so it needs to be connected to the piping network. This is typically done using a pressure switch or flow sensor.
- Test the alarm: After installation, test the alarm system to ensure it works properly when the sprinkler system is activated.
Step 7: Testing the Sprinklers System
After installation, it is critical to test the fire sprinkler system thoroughly to ensure it functions correctly. Testing ensures that all components are working in unison, from the water supply to the sprinkler heads and alarm.
- Turn on the water: Slowly open the main control valve to allow water into the system.
- Check for leaks: Inspect the entire piping network for any leaks. If found, tighten the connections and reapply pipe thread sealant where necessary.
- Activate the sprinkler heads: Test one or more sprinkler heads by applying heat to ensure they activate as expected.
- Test the alarm: Ensure the alarm system triggers when the sprinkler system is activated.
Step 8: Ongoing Maintenance and Inspection
Installing a fire sprinkler system is not a one-time task. Regular maintenance and inspections are essential to keep the system functioning properly.
- Schedule routine inspections: Inspect the system regularly to ensure all components are in good working order.
- Check water pressure: Ensure that your building maintains sufficient water pressure to operate the sprinklers.
- Replace damaged components: If any part of the system is damaged or not functioning properly, replace it immediately to avoid system failure in the event of a fire.
Conclusion
Installing a fire sprinkler system is a vital step in protecting your building and its occupants from fire. By following these detailed steps, you can ensure that your system is installed correctly, compliant with local regulations, and functioning effectively.